Wednesday, July 25, 2018

Where Do I Start?!

I hear this all of the time.  "I'd love to garden, but I just don't know where to start."

This post is meant to be a jumping off point.  It won't take you through the answers to every question you'll ever have, but--spoiler alert--I'm working on a project that will do more of that.  I hope you'll stick with me as we explore ways to get you started without feeling overwhelmed by all the possibilities.  Rather, let's feel blessed by all the possibilities, and let our dreams take over.

1.  Dream.  I'd forgotten this was my first step until I was paring down our book collection.  I found a notebook full of sketches of garden plans, lists of plants I wished to grow, ideas of ways to fund getting seeds I wanted, and more.  I couldn't believe I'd forgotten those days of perusing garden catalogs and scanning google for property layouts.  Hours spent mentally creating what I wanted.

2.  Write it down.  Even though I'd lost my notebook (or thought I had, among our many moves across the country), I truly believe in the power of writing out those dreams.  It makes them real.  Keep photos, cut up catalogs, draw those sketches of what's in your head.  You'll be surprised what this can do for you.

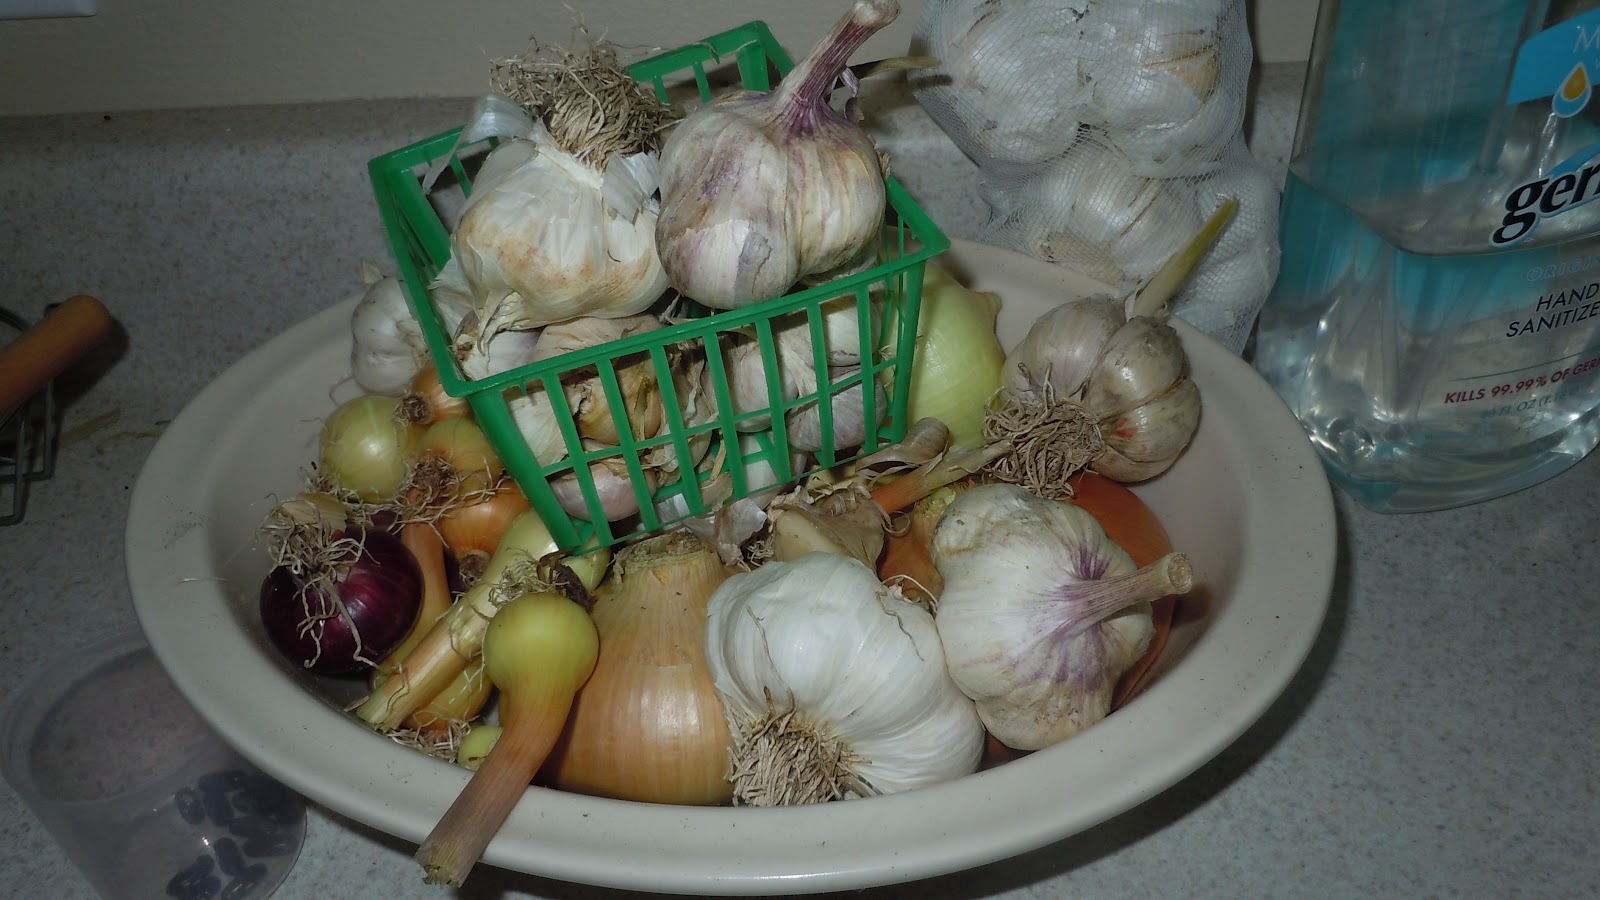
3.  Start.  Start small if you need to, but start.  When we were living on graduate student stipends and raising 3 babies, I didn't have funds to start big.  But I could afford a packet of pea seeds and a rectangular window box.  My peas did great, and I learned how to save my own pea seeds.  The next season, I felt pretty good about taking my saved seeds to a seed swap.  I learned that gardeners are generous people, who often have an abundance of produce, seeds, and advice.  I went home from the seed swap with more information and possible beginnings than I could have imagined!  If I had any advice for anyone wanting to start, I'd say, "Go to a seed swap, even if you have nothing to offer."  I promise, as someone who now provides seeds for swaps, we don't care if you show up empty handed and leave with armfuls.  We want gardening to thrive!

4.  Look for opportunities to learn.  Helping older gardeners in your neighborhood do tasks that aren't easy for them anymore can provide you with experience and information.  Gardeners love to talk, and if you're weeding for us, even better!  In some locations, we met gardeners whose yards have become too big for them.  They used to have a large family and so became accustomed to growing large amounts.  But now, it's more work and more food than they can handle.  Our family, when it was small, was able to do yard work in exchange for produce.  It taught us, helped them, saved my tiny budget, and gave us a great jump start.

5. Read.  There are so many gardening theories out there!  So many, in fact, it can be overwhelming.  The project I mentioned above will help you sort through methods.  I can't wait to share it.  In the meantime, spend some hours in your local library.  You will definitely find books on gardening, but you may also find some gardening friends looking for the same information.

You might be saying, OK! OK! I get it!  I've done all of this.  But what do I do on the land I own?  I have a place, I have a small (or large) budget set aside, but I'm still overwhelmed!  What then?  Join me over on my post:  Jumping In.


Jumping In

You're ready to jump in.  You've got a spot.  Now what?  How do you make the most efficient start?  You don't want to forget anything...

Our hyssop.  Started small under the grape vines because we wanted more
blooms for honey bees.  Now it's massive!
You'd be surprised how quickly things can change.


First:  BREATHE.  While Mother Nature can be extraordinarily brutal, she's also very forgiving.  Dead plants become compost, and compost feeds future plants.  Dead plants also become learning experiences.  In a tomato starting class my husband and I taught a few years ago, a student asked what my credentials were.  My husband answered that we'd killed more plants than she'd even planted, and each killed plant taught us something new.  I loved it.  And he was right.  We've killed our fair share of crops, and we still do.  Yes, things die in my garden, too.  Even, and including, horseradish.

Second:  Figure out your zone.  Many garden catalogs have maps that show you what zone you are in.  Don't try growing plants not hardy for your zone.  They won't flourish, and you're setting yourself up for failure.

Third: Map it out.  Getting an aerial view of your yard with Google Earth can be very helpful.  It allows you to see spaces that you may otherwise ignore.  It's the big picture.  I also recommend using a yard planner such as the one offered by many different seed companies.  We used the one on Territorial Seed. 

Fourth:  Decide on a way to organize your seeds. Some use card catalog boxes, some use binders with baseball card sleeves, some use a tin can... I'll put together a whole post on how we organize our seeds.  My favorite supplies include a 3 inch binder and clear top-zippering pockets.

Fifth--though probably not last:  Jump in.  You'll learn very little waiting for things to happen.  Plant something.  Learn to care for it.  Problems will arise.  Trouble shoot.  Plant more...come back here and ask questions.  We'll get to you as fast as we can, but in the meantime, start something else.  

Monday, January 7, 2013

Pantry Challenge

I haven't done a very good job sticking to pantry challenges in the past.  I tend to get all excited about the coming up season's deals, and then shop anyway.  However, this year I have a bit more motivation.  We have a garden now, and fruit trees and berry bushes of all sorts.  While some folks out there are thinking, "Ug, January, it's cold and I can't wait til spring..." I'm thinking, "Oh no!  It's January.  I'll be starting things indoors in one month, greens will be popping up to munch on and eat in March, and we have a whole lot of frozen veggies still in the freezer!"

See, I actually NEED to make room for the upcoming season, so that I can put fresher produce away for the next year.  If I leave it there for two years, it doesn't really save us money, and we're not eating the freshest possible produce. 

So, I plan on doing a pantry challenge again.  But not to clean it out completely.  Just to eat up any produce that I know won't store for two years without tasting blech (spinach, kale, collards, swiss chard, possibly the plums and berries).  Plus, if I try to feed more of them to the family now, we won't have to be eating the frozen ones at the same time that the fresh ones are coming on--and who really wants frozen when they can eat it right off the plant?

Another perk? Money.  We've been blessed with this garden, and I know that growing my family's food is a way to win the game when it comes to finances.  Good food doesn't have to be expensive.  It can be very cheap, especially when you master seed saving.  I'm excited to practice being a better steward of the resources that my Father in Heaven has given me, to attempt to put the best food in my family's bodies, but not spend all my dear husband has worked hard to earn. 

I'm excited to report! 

Sunday, September 9, 2012

Decadent Chocolate Cake (with a secret ingredient!)


We love chocolate.  And cake...and when you combine the two: whoa.  But I don't like the thought of feeding the kids things that have no nutritional value.  Their tummies are so small, and they need so many vitamins and minerals to make sure that they develop to the best of their ability.  Giving them empty calorie sweets just isn't a good idea.  So, when I heard that there was on old recipe for "Beet Cake" available from a friend at our veggie co-op a few years ago, I knew I needed to look into it a bit deeper.  Since then, I've tweaked the recipe a bit to contain not only beets but fresh whole grains, coconut oil, and molasses.  It's heavenly, high in fiber and high in iron (but when you eat iron in a food form, you don't have to worry about overdose like with vitamin pills).  I'm sure there are a great many antioxidants in this cake as well, from the dark cocoa, beets, and molasses.  Sadly, I still use a bit of white sugar, but if I don't I can't quite pass it off as tasty.  At least it's less than originally called for.

Chocolate Beet Cake

In a blender puree/mix:
2 Cups peeled, boiled beets. (it's actually easier to boil BEFORE peeling).
3 eggs
1 C coconut oil
1 C sugar
2 Tbsp molasses
2 tbsp vanilla

In a large bowl, whisk together:
1 C cocoa
2 C freshly milled whole wheat flour, or spelt flour
2 tsp. baking soda

Combine the two mixtures and mix well.  Bake in a 9x13 pan (greased) for about 40 minutes, at 375 *F.

Frost how you wish.  Sometimes we just dust with powdered sugar, sometimes we use a creamcheese frosting (shown), other times a chocolate frosting.  It's good all ways.  My family CAN taste the beets, so it might not hide them from someone who outright hates the taste of beets.  I've found, though, that most kids don't hate them because of their flavor, but the thought of eating this dark, scary veggie.  My kids grow them, so it's not too scary to them, and they like them plain.  I suppose if you didn't tell the person that the beets were there, they would only notice it tastes a little different than regular chocolate cake.

Busy garden time!

Grapes to be juiced.
Juicin' juicin'!

Plum sauce, simmering.

Pretty tomatoes.


Onions and garlic, ready for anything.

Plums from the tree, quartered and frozen on a tray.  Later, I'll bag them--ready for tarts...

Tarts like this one.  Mmmmm.
We've been a little busy. I'll post more later. 

Monday, July 23, 2012

Garden Preserves & 100th Post

What better way to celebrate my 100th post on Searching For Simple than with one of Stephen's Grandmother's canning recipes.  It's one of the first ones I tasted, and one that baby Zac was introduced to early in his life (I wish I had photos of his deliciously purple face!).  I put together a step-by-step so that you, too, can enjoy this wonderful dish.

Grandma Tueller's Pickled Beets
24 small beets (or the equivalent)
3 medium onions
2 C white vinegar
1 C water
1.25 C sugar
2 Tbsp salt
6 whole cloves
1 3 inch stick of cinnamon

Cook the beets.  Grandma liked to boil them, I prefer to roast them.  Either way, cook them in their skins.  When done and cool enough to hold, peel the beets with your hands, using a paring knife to cut away difficult spots.  Then slice them.
All roasted & ready to peel.
Peeling.  Yes, my hands are pink now. 

Peeled, ready to slice.


Bring vinegar, water, sugar, salt and spices (placed in a spice bag, you don't want these floating out on their own for this recipe) to a boil.  Stir in sliced onions and beets.  Boil for 5 minutes.

Bottle in clean bottles with hot lids.  Put in boiling water bath (or steam canner--NOT a pressure cooker!) for five minutes.*

Let cool and sit for 24 hours to ensure seal.  Then label and put on shelves for future storage. 
Makes 5 pints.
Ta-da!!
*Current Blue Book of Canning states that it should be processed for 40 minutes.  I think this is a little excessive, as grandma has never poisoned anyone (and we've already cooked the beets twice by now!).  However, to be safe, if you want to go for 15, I don't think it'd hurt anything, and if you really want to go for 40, that's fine.  I don't.

Sunday, July 22, 2012

Beet It.

Yesterday found me with a large basket of beets (about a half bushel). My plan is to put together quite a few jars of pickled beets for our cupboards. 

I'm excited to get them, because our beets might not do as well as I hoped.  You see, I have a VERY helpful daughter, who wanted to pick lettuce for our tacos.  I thought I'd been thorough in teaching her which leaves were which, but she arrived to the table with a bowl of beet tops.

Photo from healthytastycheap.
We planted three types of beets in our garden this year: blood red, chioggia and golden.  I love the stripes in the chioggia beets, and overall love the colors of the beets combined.  It's fun to slice them with the children, and have them guess what color the beet will be inside.  They are getting better at noticing that the leaves veins are a give-away.  I'll take more photos of the canning process...and then we get to start waiting for tomatoes!  Unless my beans come in first, then I'll be busy while I wait.

Tuesday, November 8, 2011

Holiday Plan: Food Storage Week.

Huh.  Maybe I just rock (I'm sure in a moment I'll find something to humble me--please don't try to help...), but I went to the plan page http://christmas.organizedhome.com/houseworks-holiday-plan/2011/food-storage-week to see how far behind I was, given I was working on canning and getting baby clothes ready rather than what I deemed the usual getting ready for the holiday's fare.  And guess what?!?  It's food storage week!!  And last week was cooking space week, and I'd spent the week preparing to can, gathering spices and such.  Ha!! 

Green Tomato Pie

Whew!  Where have we been?!?  Here, there, and everywhere.  And I'm in the process of canning all the fruit I froze because I thought I was too busy to can it over the summer (ha!  what on earth made me think I'd get less busy with a baby on the way?).  To top it all off, I want to get done before the two little ones that have already entered the world (ages 6 & 3) get their tonsils taken out in a week and a half (yes, right before the other munchkin is supposed to come!). 

One of the projects I finished was turning all the green tomatoes from the yard into pie filling.  My friend, Carrie, told me she made these for Thanksgiving last year, and they were enjoyed.  We had a lot of green tomatoes.  I have to be honest...I wasn't a huge fan, nor were the kids...but, it's made, and it's not a horrible flavor...just not my favorite.

I used green cherry tomatoes...hard to slice thinly as the recipe suggests.  Perhaps that's why it wasn't as amazing as when my friend makes it.  She uses large tomatoes.


  • 1 1/4 cups brown sugar
  • 2 tablespoons flour
  • 2 tablespoons tapioca flour
  • 1 teaspoon lemon juice
  • 1/2 teaspoon ground cinnamon
  • 1/4 teaspoon freshly grated nutmeg
  • 5 green tomatoes, or enough to fill pie crust, thinly sliced

Monday, October 17, 2011

Mmmm, Apple/Beet Juice

Oh my!  The purple, the beautiful purple!  Our farmer friend, who sells wonderful, organic, heirloom produce by the basketful, provided us with a large sack of beets.  We love beets.  We were also blessed to receive two large bags of apples from my parents, as well as apples from someone who sent us the "Halloween Phantom" and we have an apple tree!!  So, I've been juicing the apples & beets together.  They have been so good, though I won't let the kids drink it in their school uniforms (have you ever tried to get beets out of clothing?!?!?).

This morning's breakfast was glorious, as I threw spinach, flax seed, my beet/apple blend, strawberries, and some frozen bananas into the blender.  It was a beautiful bright red, and the kids snarfed it down.  I loved knowing everything that went into them was raw, fresh, and jam-packed with vitamins--especially since it seems bug after bug is going around their school, and we already had to bring home strep for everyone!